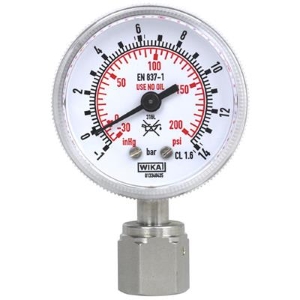
632.50 & 633.50
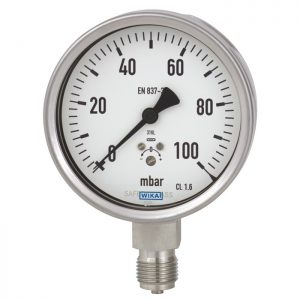
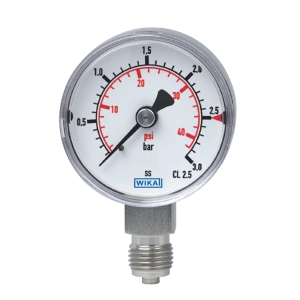
WIKA 632.50 & 633.50 – (Capsule Pressure Gauge)
Applications
- With liquid-filled case for applications with high dynamic pressure loads or vibrations (model 633.50)
- For gaseous, dry and aggressive media, also in aggressive environments
- Process industry: Chemical, petrochemical, pharmaceutical, biotechnology, machine and power generation industries
Product features
- Zero point correction in front
- Completely from stainless steel
- Special connection location on request
- Low scale ranges from 0 … 2.5 mbar
Description
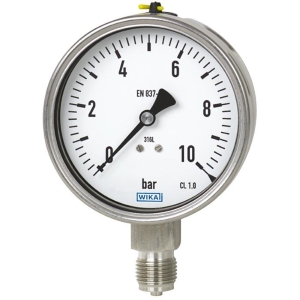
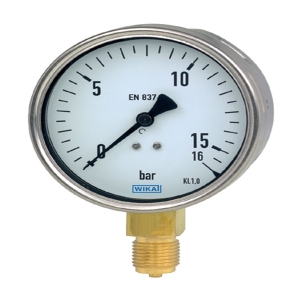
The model 632.50 capsule pressure gauges are completely manufactured from stainless steel and are therefore particularly suited for applications in the process industry. They are based upon the proven capsule measuring system. On pressurisation, the expansion of the capsule element, proportional to the incident pressure, is transmitted to the movement and indicated.
The modular design enables a multitude of combinations of case materials, process connections, nominal sizes and scale ranges. Due to this high variance, the instrument is suitable for use in a wide range of applications within the process industry.
For mounting in control panels, the capsule pressure gauges can, depending on the process connection, be fitted with a mounting flange or with a triangular profile ring and mounting bracket.
The model 633.50 with liquid-filled case is suitable for high dynamic pressure loads and vibrations.
WIKA 632.50 & 633.50
| Design | EN 837-3 |
| Nominal size in mm | 60, 100, 160 |
| Accuracy class | 1.6 |
| Scale ranges | NS 63: 0 … 40 mbar to 0 … 600 mbar
NS 100: 0 … 16 mbar to 0 … 600 mbar NS 160: 0 … 2.5 mbar to 0 … 600 mbar or all other equivalent vacuum or combined pressure and vacuum ranges or all other equivalent vacuum or combined pressure and vacuum ranges |
| Pressure limitation | Steady: Full scale value
Fluctuating: 0.9 x full scale value |
| Permissible temperature | Ambient: -20 … +60 °C
Medium: +100 °C maximum |
| Temperature effect | When the temperature of the measuring system deviates from the reference temperature (+20 °C): max. ±0.6 %/10 K of full scale value |
| Process connection | Stainless steel 316L
Lower mount (LM) or lower back mount (LBM) (633.50 NS: 100.160) NS 63: G ¼ B (male), SW 14 NS 100, 160: G ½ B (male), SW 22 |
| Pressure element | Stainless steel 316L |
| Movement | Stainless steel |
| Dial | Aluminium, white, black lettering |
| Pointer | Aluminium, black |
| Case | Stainless steel |
| Window | Laminated safety glass
(with liquid filling: Clear non-splintering plastic) |
| Options | ■ Other process connection
■ Sealings (model 910.17, see data sheet AC 09.08) ■ Accuracy class 1.0 for model 632.50 and scale range ≥ 40 mbar (without filling liquid) ■ Accuracy class 1.0 for model 633.50 and scale range ≥ 100 mbar (with filling liquid) ■ Permissible ambient temperatures -40 … +60 °C ■ Overload safety and vacuum safety with scale range > 25 mbar: 10 x full scale value scale range ≤ 25 mbar: 3 x full scale value ■ Surface mounting flange ■ NS 100 and 160: Panel mounting flange ■ NS 100 and 160: Triangular bezel with clamp ■ NS 100: From scale range ≥ 100 mbar switch contacts (model 831, data sheet AC 08.01) |

 Tiếng Việt
